Workflow Overview
There are two faces to the Workflow coin:
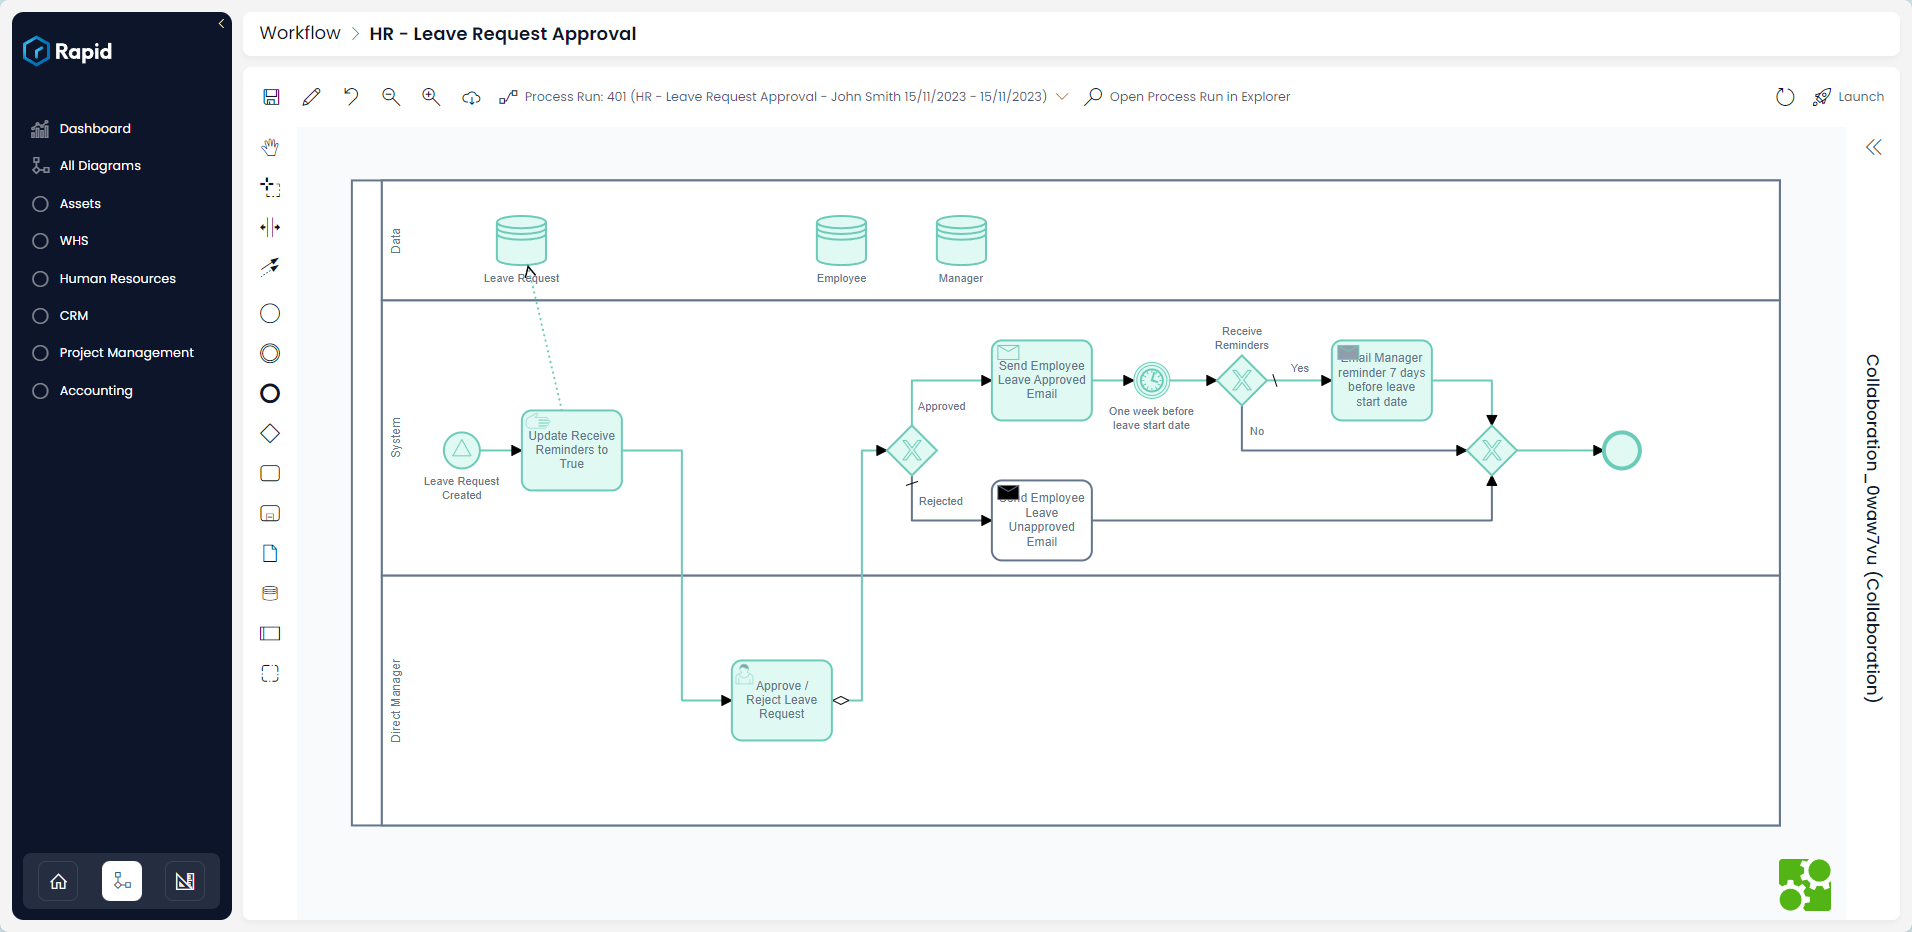
- A BPMN 2.0-compliant drawing tool to enable living documentation of your business
- A process execution engine to help automate the drudgery of day-to-day activities

The Workflow experience is one of the Five Pillars of Rapid. With this experience, you can create flowchart diagrams of your organisation's processes that can then be automated using code.
These diagrams are also called Processes once they begin running, and their code executes. For example, Processes can do the following:
- Automatically copy and convert an item (e.g. a quote) to another type of item (e.g. an invoice).
- Schedule tasks and assign those tasks to a User that is selected in a User lookup field.
- Create a flow of tasks that waits for a response from users before automating the next task. This can create automating processes such as onboarding, probation reviews, work performance reviews, etc.
- Generate emails using dynamic data (changing what the email says, depending on the data in an item)
- Generate documents and PDFs using data from the Rapid site
Workflow is a complex tool and is only suitable for Keypers, System Administrators, or users who have received permission to create automated systems for their organisations.
This is because, by its nature, Workflow is designed to run behind-the-scenes: updating data, creating tasks and items, and sometimes even deleting data. As a result, it can cause data loss or corruption if not handled properly.
Accessing Workflow
To access Workflow:
- Press the Workflow button at the bottom of your Rapid site's Sidebar. (The button's icon resembles a flowchart).
- In the Sidebar menu, press the All Diagrams button.
This will open a Table titled "Workflows". Each item in this table is a unique Process Diagram or Workflow.
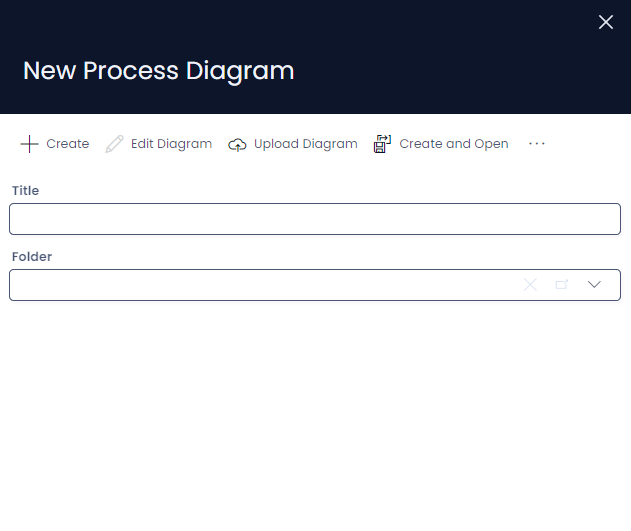
- Press the New Process Diagram button in the Workflow Table's Command Bar.
- In the New Process Diagram side panel that opens, give your Process Diagram a descriptive name, and choose a folder to save the diagram in (if applicable).

You can also upload any diagrams that you have downloaded from another site at this step, using the Upload Diagram button at the top of the side bar.
- Press Create or Create and Open.
Your Process Diagram has now been added to the Workflows table. You can open the diagram just like a regular item, by navigating to the table as before, and then double-clicking on the desired workflow (or single-clicking its title field).
Developing a Diagram
The first step in creating a Process is drawing the process diagram. This initial step is often accompanied by a review of internal business processes.
(i.e. How does your organisation currently operate? Or, what are its current processes?)
Then, these processes can be drawn into an organisational flowchart using Rapid's Workflow BPMN 2.0-compliant drawing tool. It is a good idea to "segment" your process diagrams. That means to break each diagram up into as small a section as necessary.
Let's say your company sells stationery, and you have been tasked with creating a diagram that creates two documents: one is a "daily summary of all sales", and the other is a summary of "leave requests for the day".
You should avoid creating a single, complex diagram that achieves multiple goals. Why? Having a process diagram that achieves multiple goals will become infinitely more complex: it will need to access more tables, more items, and the diagram itself will become more difficult to read and understand. Giving the diagram a title would become trickier. Additionally, it will become more difficult to "de-bug" or fix issues with the process if it is more complex.
Instead, two separate processes should be generated: this will make each diagram easier to read, easier to name (as they are only achieving one goal each), and easier to troubleshoot if problems arise.
Executing Workflows
There are several methods of executing Rapid Workflows, which are outlined here: